Practical guide
Travel eSIM not working abroad: what to check after arrival
A reversible troubleshooting sequence for mobile-data issues after arrival, with a clear warning not to delete the eSIM profile unless your provider tells you to.
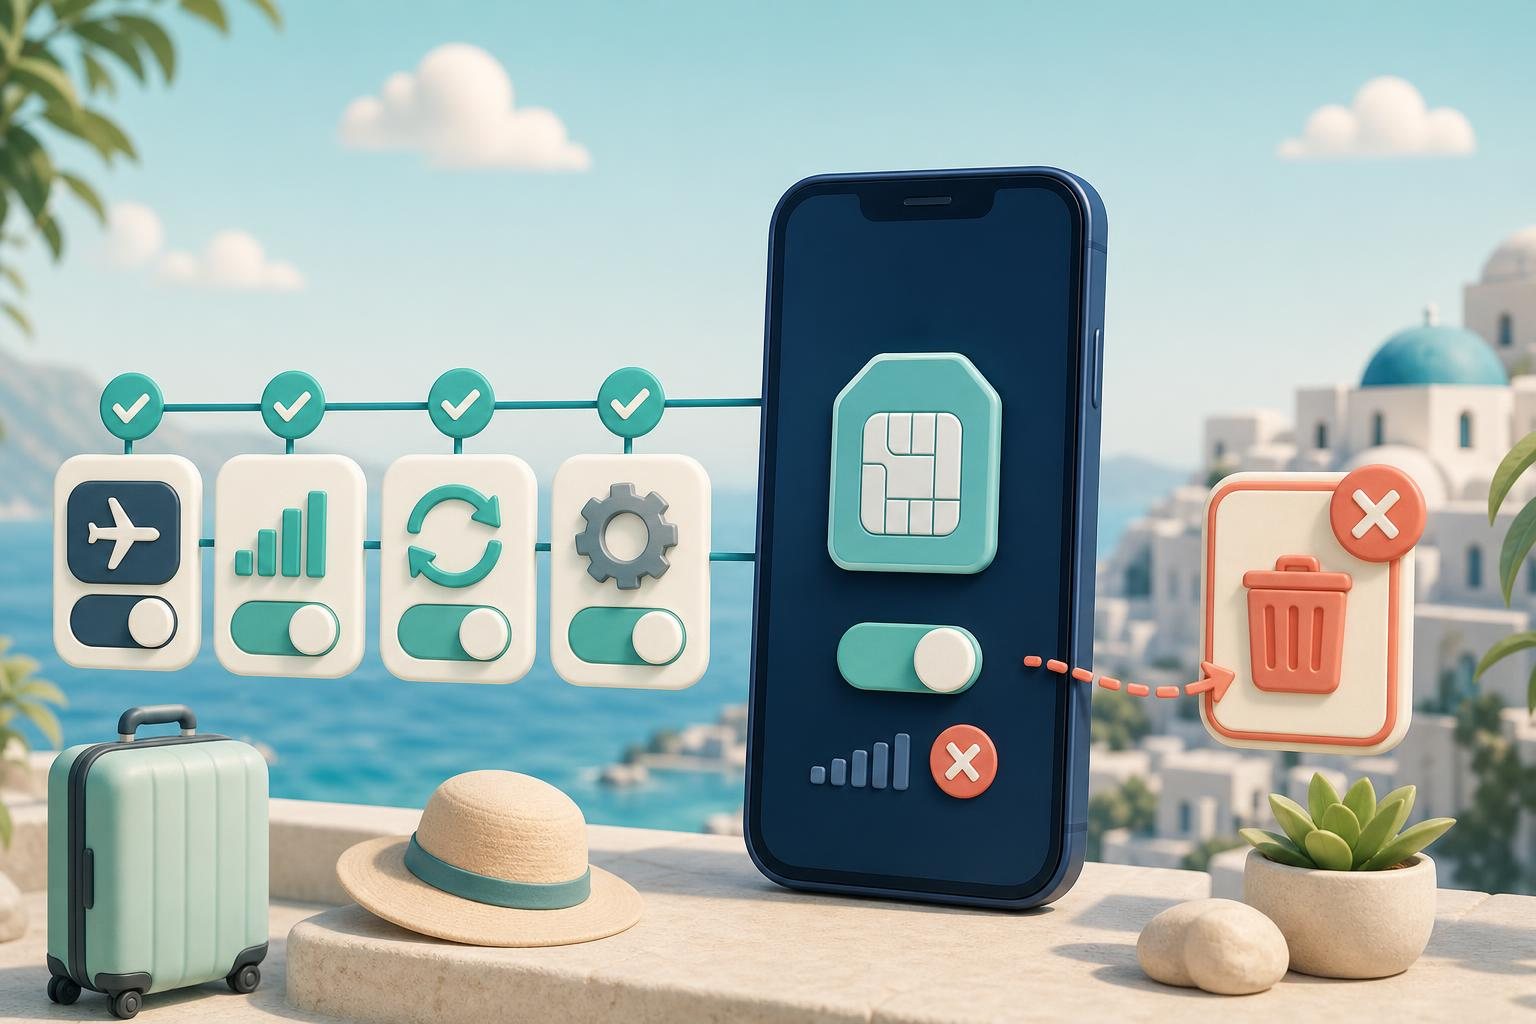
A travel eSIM not working abroad can be frustrating after a flight, but deleting the profile should not be the first response. Apple explicitly says not to erase an eSIM as a troubleshooting step unless the network provider directs you to do so. If you erase it, you need to contact the provider for a new eSIM. Apple Support: erase an eSIM
Work through the checks below from the least disruptive step to provider support. After each change, turn Wi‑Fi off and load a website. That tests the cellular connection rather than the airport, hotel, or café Wi‑Fi network. Google likewise recommends turning Wi‑Fi off when checking whether a mobile-data indicator appears. Android Help: fix internet connection problems
Identify the symptom first
| What you see | Check first |
|---|---|
| No Service, Searching, or SOS | Confirm that the line is on, then use Airplane Mode and restart |
| Signal bars but no webpages | Confirm the data line, mobile-data setting, and the relevant line settings |
| Only Wi‑Fi works | Turn Wi‑Fi off and retest cellular data |
| Your home number cannot receive calls or texts | Review the dual-SIM assignment; this is separate from mobile data |
On iPhone, No Service and Searching mean the device is not connected to a cellular network. SOS or SOS only means the phone can still make emergency calls through another available carrier network; it does not confirm normal service on your own line or working mobile data. Apple Support: SOS, No Service, or Searching
Step 1: Keep the profile and confirm that the line is on
Open your cellular settings and locate the travel line. It may be labelled with a provider name, a destination, or a name selected during setup. Do not tap Delete eSIM, Delete Plan, or any similar removal option. At this stage, you only need to inspect and enable the line.
iPhone
Open Settings → Cellular or Mobile Data, select the relevant line, and confirm that Turn On This Line is enabled. Apple gives this check for Dual SIM iPhones: if the cellular line is off, turn it on and check service again. Apple Support: review Dual SIM lines
If you bought a travel eSIM before departure, iOS 26 and later may show a Turn On Travel eSIM notification after arrival. Apple documents options to use the travel eSIM alone or keep both the travel and current lines active. Apple Support: use eSIM while traveling
Google Pixel
On a Pixel, go to Settings → Network & internet → SIMs, select the line, and make sure both Mobile data and Use SIM are on. Google lists these as checks for a mobile-data problem. Google Pixel Help: fix mobile connectivity issues
Menu names and available controls on Android vary by phone, Android version, carrier, and service plan. On a non-Pixel Android phone, use the equivalent SIM, mobile-data, and line-enable controls rather than assuming the Pixel path will match exactly. Google Pixel Help: mobile-network settings
Step 2: Make the travel line the mobile-data line
When two lines are active, signal bars can belong to one line while mobile data is assigned to another. Seeing your home carrier’s signal therefore does not prove that the travel profile is supplying data.
On iPhone, go to Settings → Cellular / Mobile Data → Cellular Data and choose the travel line. Apple states that an iPhone uses one cellular-data network at a time. Apple Support: Dual SIM with eSIM
On Pixel, open Settings → Network & internet → SIMs and choose the line for Mobile data under the primary-SIM settings. Google states that only one SIM can be the default for data. Google Pixel Help: use dual SIMs on Pixel
If you do not intend to use your home plan’s data, do not turn on Allow Cellular Data Switching on iPhone without understanding the setting. Apple says that it lets the iPhone use cellular data from both plans depending on coverage and availability. Apple Support: cellular-data switching
Step 3: Check data roaming for the correct line
Do not assume that every travel plan needs the same roaming setting. Follow your eSIM provider’s instructions. If that provider tells you to enable data roaming, enable it for the travel line—not automatically for your home line.
For international travel, Apple instructs iPhone users to check Data Roaming. On a Dual SIM iPhone, open Settings → Cellular or Cellular Data, select the number to modify, then open Cellular Data Options and turn on Data Roaming. Apple Support: international roaming check
On Pixel, the Roaming control allows the phone to send data over other carriers’ networks when it leaves the area covered by the carrier’s networks. Google also cautions that available mobile-network settings vary by phone and Android version. Google Pixel Help: roaming setting on Pixel
Leave roaming off on the home line if you do not want to use that line abroad and have not confirmed its terms. Apple advises contacting the carrier for details about international roaming and possible fees. Apple Support: international eSIM options
Step 4: Reconnect to the network
This does not erase the eSIM or remove its plan. On iPhone, turn Airplane Mode on for at least 15 seconds, then turn it off. Apple recommends this sequence when the device shows No Service or Searching. Apple Support: reconnect to a cellular network
On Android, turn Airplane Mode on, wait 10 seconds, turn it off, and check the connection again. Google provides that sequence for mobile-data troubleshooting. Android Help: toggle Airplane Mode
If that does not resolve the issue, restart the phone. Apple includes restarting in its service-reconnection guidance, and Google recommends a restart as a general step for an Android connection problem. Apple Support: restart for service issues Android Help: restart an Android device
Step 5: Test coverage without forcing network settings
With Wi‑Fi off, look for the mobile-network indicator. If signal is weak or absent, move to a different location or go outside and test again. Google notes that the absence of a data indicator can mean there is no coverage in the current area and recommends trying another location. Android Help: check signal and coverage
Do not force a preferred network type or manually select a network simply as an experiment. On Pixel, the network-type options and their availability can vary by country, carrier, and phone; when 5G is unavailable, compatible Pixels can fall back to 4G or lower networks. Google Pixel Help: network type and 5G availability
Manual network selection is appropriate only when your eSIM provider specifically identifies a network to select. Otherwise, return to automatic selection and complete the line, data, Airplane Mode, and restart checks first.
Step 6: Do not enter a random APN
If the line is enabled, selected for data, and visible on the network, do not paste an APN from an unverified forum. Google explains that access point names help the carrier find the correct IP address and connect the phone securely. Use an APN only when the eSIM provider has supplied the exact values and asked you to enter them. Google Pixel Help: access point names
If settings display a SIM error, save the exact wording or take a screenshot before contacting support. Google’s guidance for a SIM error is to contact the carrier. Keeping the message is more useful than deleting the profile and losing the state you were trying to diagnose. Google Pixel Help: SIM-card errors
Step 7: Update settings, then consider a targeted reset
On iPhone, connect to Wi‑Fi and go to Settings → General → About. Apple says an available carrier-settings update will appear there as an update option. Apple Support: check for a carrier-settings update
On Pixel, Google documents a mobile-network reset at Settings → System → Reset options → Reset mobile network settings. Use it only after checking the line, mobile data, provider-directed roaming setting, and Airplane Mode. Google Pixel Help: reset mobile-network settings
Do not jump straight to a factory reset for an ordinary travel-data issue. The official Apple and Google sequences begin with focused checks of the line, mobile data, Airplane Mode, restarting, updates, and provider support. Apple Support: No Service troubleshooting Google Pixel Help: mobile-data troubleshooting
When to contact support
Contact the eSIM provider if the profile is on, assigned to data, configured according to its roaming instructions, tested with Wi‑Fi off, and still unable to connect after Airplane Mode and a restart. Apple notes that a carrier can check account status, coverage, device blocking, and whether the device has the appropriate data plan. Apple Support: contact your carrier
Include these details in your message:
- the country and city where you tested;
- the phone model and iOS or Android version;
- a screenshot of the line status and the exact error text;
- confirmation that Wi‑Fi was off during the test;
- what happened after Airplane Mode and restart;
- the time of the most recent connection attempt.
If you cannot activate the travel eSIM on an iPhone at all, check the carrier lock. Apple says to open Settings → General → About and inspect Carrier Lock; an unlocked iPhone shows No SIM Restrictions. Apple Support: check whether iPhone is unlocked
Quick answers
Can I switch an eSIM off temporarily instead of deleting it?
Yes. You can turn an iPhone line off in its cellular settings, while Google documents temporary SIM deactivation on Pixel through Use this SIM. That is different from erasing the profile. Apple Support: check whether a cellular line is on Google Pixel Help: turn off a SIM temporarily
Why do I have signal but no internet?
Check whether mobile data and the SIM are enabled, whether that line is selected for data, and whether its roaming setting matches the provider’s instructions. Apple and Google include these items in their cellular troubleshooting and settings guidance. Apple Support: Data Roaming while traveling Google Pixel Help: check mobile-data settings
Should I remove the profile before asking for help?
No. Keep the profile in place and give the provider the results of your checks. Apple specifically advises against erasing an eSIM for troubleshooting unless the provider directs you to do it. Apple Support: do not erase an eSIM for troubleshooting
Sources
References used for this guide
Plan and device conditions can vary. Check the exact plan page and device-maker documentation before purchase.
- Apple Support — If you see SOS, No Service, or Searching on your iPhone or iPad
- Apple Support — How to erase an eSIM on your iPhone or iPad
- Apple Support — Use eSIM while traveling internationally with your iPhone
- Apple Support — Using Dual SIM with an eSIM
- Google Pixel Help — Connect to mobile networks on a Pixel phone
- Google Pixel Help — Fix mobile connectivity issues
- Google Pixel Help — How to use dual SIMs on your Google Pixel phone
- Android Help — Fix internet connection problems on Android devices
Keep reading
Related guides

eSIM installation vs activation: what happens at each step
Learn the difference between downloading an eSIM profile, enabling a line, registering on a network, and a plan’s validity beginning.
How to choose a travel eSIM: 7 checks before you pay
A practical travel eSIM checklist covering phone compatibility, coverage, data, validity, activation, calls and the settings to review before departure.
when to install a travel eSIM: before departure or after arrival
Understand the difference between installing an eSIM, turning on its line, and starting a package’s validity period before you decide when to set it up.